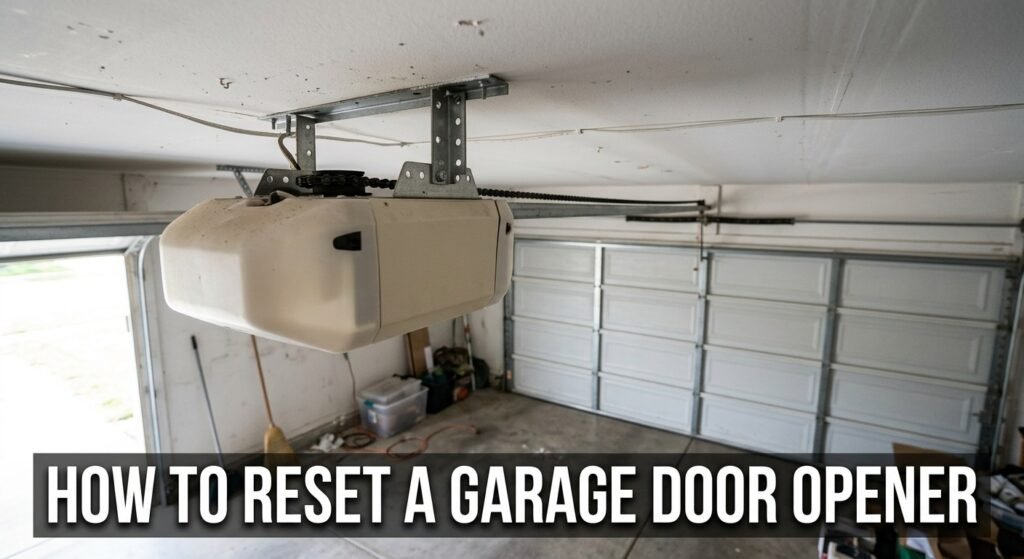
If you need to know how to reset a garage door opener, start by finding the Learn button on the motor unit, usually on the back or side. Hold it for about 6 seconds until the light goes out, that clears the stored codes. Press it again once, quickly this time, then pair your remote within 30 seconds. Exact timing shifts a bit by brand, so check the brand section below for your model before you start.
Reset, Reprogram, or Just Restart? These Aren’t the Same Thing
People use “reset” for three different jobs, and mixing them up wastes your time.
- Power cycling means unplugging the opener or flipping its breaker for about 30 seconds, then restoring power. It clears small glitches without erasing anything you’ve already programmed.
- Reprogramming adds or removes one remote or keypad code, leaving everything else alone.
- A full reset wipes every remote and keypad the opener has learned, so you’re starting from zero.
If only one remote stopped working, try a fresh battery and reprogram that one remote first — no need to erase everything else.
Before You Reset Anything, Check These First
A couple of quick checks can save you the whole process.
- Swap the remote battery. This fixes more “dead” remotes than people expect.
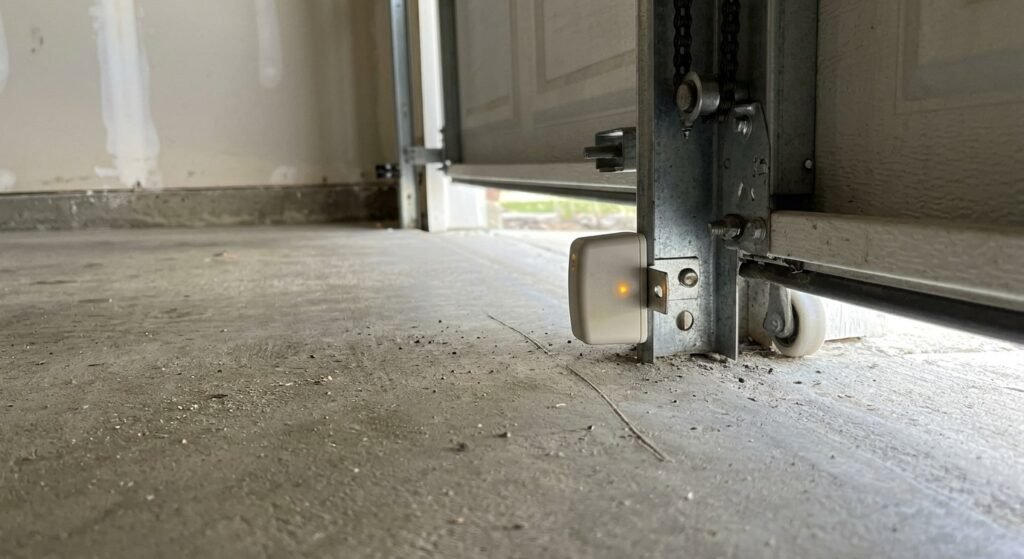
- Check the safety sensor lights. Two small sensors sit near the bottom of the door tracks, and both should show a steady light. If one’s blocked or knocked out of alignment, the door won’t close, and it has nothing to do with codes.
- Check the power. No lights, no sound at all? Check the outlet or breaker before assuming the opener itself needs work.
How to Reset a Garage Door Opener: Step-by-Step
This covers most belt-drive, chain-drive, and wall-mount openers.
- Make sure the door is closed and nothing’s in its path.
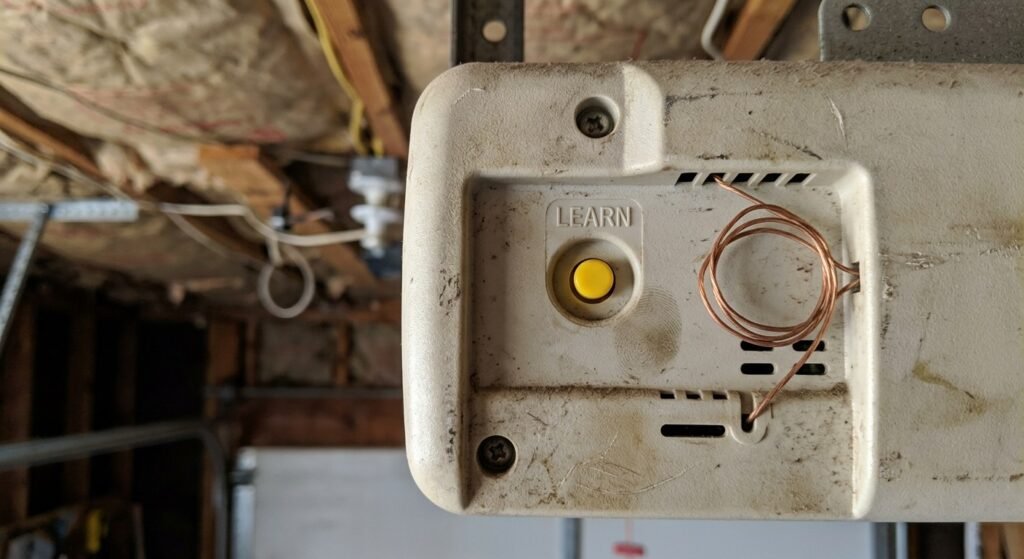
- Find the Learn button on the motor unit, back or side of the housing, usually near the antenna wire.
- Press and hold it for about 6 seconds until the light goes dark.
- Let go and wait a moment before touching it again.
- Tap the button once, briefly. You’ve got about 30 seconds to press your remote’s button until the opener clicks or the light flashes.
- Pair the keypad the same way, if you have one.
- Test the remote, keypad, and wall button, and confirm the door still reverses if something’s in its way.
On most current models, this only clears codes, it doesn’t touch travel limits or force settings. Those live in separate menus.
Brand-by-Brand Instructions
| Brand | Button Color | Where to Look | Hold Time |
| LiftMaster | Yellow, purple, or orange | Back/side of motor head | ~6 sec |
| Chamberlain | Yellow or purple | Back/side of motor head | ~6 sec |
| Craftsman | Yellow | Back of motor head | ~6 sec |
| Genie | Red or blue, often labeled “Program” | Inside light cover | 3–6 sec |
| Overhead Door (Legacy 850, Odyssey 1000) | Varies | Near the antenna | 2–6 sec |
Button color and exact timing have shifted across production years for every brand here, so if what you find on your unit doesn’t match the table, go with what’s actually in front of you rather than the table.
LiftMaster Reset
Look for the yellow, purple, or orange Learn button on the back or side of the motor head. Hold it 6 seconds until the light turns off. To factory reset a LiftMaster opener fully, that’s the whole process, then re-pair each device the normal way.
One thing worth knowing: if you use myQ, removing a device from the app is not the same as clearing the opener’s stored codes locally. The app and the physical memory don’t always sync the way people assume.
Chamberlain Reset
Chamberlain and LiftMaster share the same manufacturer, so the steps match, yellow or purple button, 6-second hold, then re-pair. If you only need to reset a Chamberlain remote and not the whole system, skip the hold and just do the quick-tap-then-pair step.
Craftsman Reset
Craftsman units built after the mid-2000s were mostly made by Chamberlain, so they follow the same yellow-button, 6-second process. Older Craftsman openers can work differently, check the DIP switch section below if your unit’s from before then.
Genie Reset
Genie’s the odd one out. The button’s often labeled “Program” instead of “Learn,” and you may need to pop off the light cover to find it. Hold time runs 3 to 6 seconds depending on the model.
Overhead Door (Legacy 850, Odyssey 1000)
Overhead Door openers, including the Legacy 850 and Odyssey 1000, use a similar Learn-button process, but button color and hold time have changed across different production years for these specific models. Check the sticker on the motor head or your manual to confirm the exact numbers before assuming the table above applies to your unit.
Really Old Openers With No Learn Button
Openers from before the early ’90s often skip the Learn button entirely and use DIP switches instead, small toggle switches inside both the remote and the motor unit. You “reset” these by changing the switch pattern to match on both sides. These older systems also don’t use rolling codes, meaning the same signal broadcasts every time, which matters if security’s a concern for you.
Just Need to Reset the Remote or Keypad?
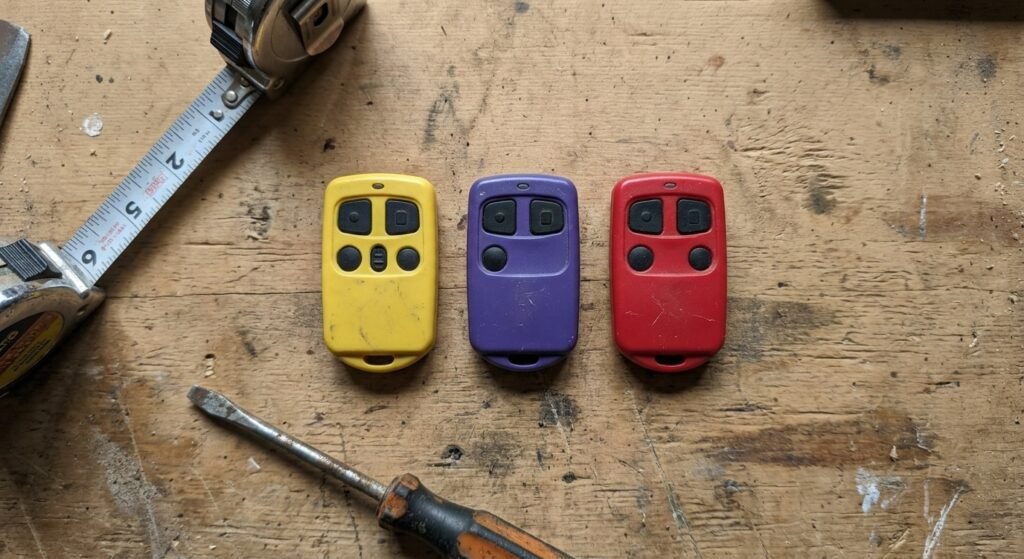
If the opener’s fine and only one device isn’t working, skip the full reset.
Remote:
- Tap the Learn button once, don’t hold it.
- Within 30 seconds, press and hold the remote’s button.
- A click or flashing light means it worked.
Keypad:
- Tap the Learn button once.
- Enter your new 4-digit PIN on the keypad.
- Hold Enter (or #) until the light flashes.
- Test it right away, since the pairing window closes fast.
Skip obvious PINs — your house number, the current year, or four repeating digits are all easy guesses.
Got a Wi-Fi or Smart Opener?
Smart openers separate remote programming from Wi-Fi setup. There’s usually a dedicated Wi-Fi button, not the Learn button, that you hold until the light changes color, signaling it’s ready to connect through the app. App screens and exact steps change with updates, so check your opener’s current app or the manufacturer’s support page rather than relying on steps that might be outdated by the time you read them.
Using a Universal Remote?
The pairing process is close to what’s described above, but universal remotes sometimes need you to select the correct brand or frequency setting on the remote itself first. If it won’t sync after several tries, check the remote’s own manual for that setting before assuming the opener’s the problem.
Opener Stuck in Learn Mode or Light Won’t Stop Blinking?
If the light keeps blinking well past the 30-second pairing window, don’t keep mashing buttons.
- Unplug the unit for 30 seconds and start the pairing step over.
- Make sure nothing’s blocking the safety sensors during the process.
- If it keeps happening on the same unit, especially an older one, it can point to a failing circuit board rather than something you’re doing wrong.
Travel Limits and Force Settings Aren’t the Same as a Reset
- Travel limits decide how far the door moves before it counts as fully open or closed.
- Force settings control how much power the motor uses to get it there.
A code reset doesn’t touch either one on most modern openers. If the door’s stopping short, reversing before it seals, or straining audibly, that’s a limits or force problem, not something the Learn button fixes. These adjustments involve small screws or dials, and getting them wrong can weaken the auto-reverse safety feature, so if you’re not confident reading your specific model’s settings, get someone who knows that model to handle it.
Cold Garages Can Fake a “Broken” Opener
In winter, frost or condensation on the sensor lenses can make the door act like it’s broken, refusing to close, or reversing right before it seals. It looks like a reset problem but it’s usually a dirty or slightly shifted sensor. Garages that stay more temperature-stable deal with this less, since the sensors aren’t cycling through the same cold-to-warm swings all season.
When a Reset Just Won’t Fix It
A reset deals with codes, not hardware. If you’ve done everything above and the door’s still acting up:
- Motor hums but the door won’t move — usually a broken spring or a snapped belt/chain.
- Door reverses with nothing in the way — check sensor alignment first.
- Nothing turns on after a storm — possible surge damage to the board.
- Opener’s 15+ years old with multiple issues at once — at that point, repair often costs more than it’s worth.
If springs or cables are involved, don’t try fixing those yourself, they’re under enough tension to cause serious injury if handled wrong.
FAQ
How do I reset my garage door opener after moving into a new house? Hold the Learn button for about 6 seconds until the light goes out. That clears whatever the last owner had set up. Pair your own remotes and set a new keypad PIN afterward.
How do I factory reset a LiftMaster garage door opener? Find the yellow, purple, or orange button on the motor head, hold it 6 seconds, then re-pair each device.
How do I reset a Chamberlain garage door opener remote? Tap the Learn button once, then press and hold your remote’s button within 30 seconds. No need to wipe everything for just one remote.
How do I reset a Craftsman garage door opener? Same yellow-button, 6-second process on newer units. Older Craftsman openers may use DIP switches instead, check your model number if the Learn button isn’t there.
Will resetting mess up my travel limits? Not on most current models. A few older ones reset everything at once, so check your manual if the door’s behavior changes afterward.
My opener reset fine but the remote’s still dead. Why? New battery first. If that doesn’t help, try pairing a different remote, if that one works, the original remote’s the problem, not the opener.
Can I reset the opener through an app? Some myQ setups let you remove one device through the app, but a full wipe of stored codes still needs the physical Learn button.
My opener has no Learn button. What now? Probably an older unit with DIP switches, flip the switch pattern to match on both the remote and motor unit. These older systems also skip rolling codes.
Is resetting it myself actually safe? Yes, it’s safe, no springs or cables involved. Just unplug the unit first, and if you need a ladder to reach the motor, keep the door closed while you work.
Wrapping Up
If you’re searching for how to reset garage door opener steps, figure out first what you actually need, a full code wipe, one remote fixed, or a mechanical issue that a reset was never going to solve. Start with the simple checks, confirm your exact model before assuming a generic hold time applies, and the rest is quick.