What Is a DIY Garage Door Insulation Kit?
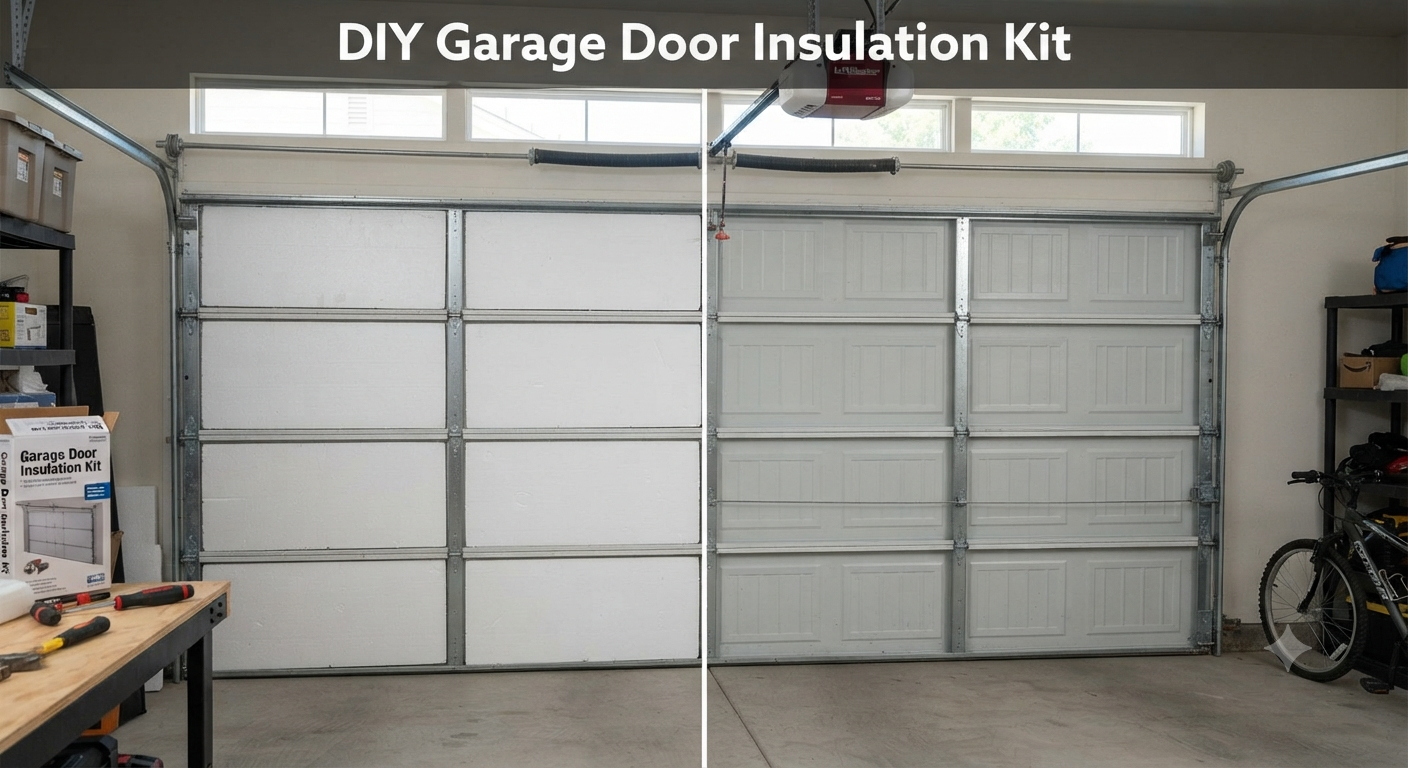
If your garage feels freezing in winter or gets way too hot in summer, a DIY garage door insulation kit can help. It’s a simple kit that adds an insulating layer to the inside of your garage door, helping slow down heat transfer and making the space more comfortable year-round. Most kits are designed for homeowners, so you don’t need special skills or expensive tools to get started.
A typical kit includes insulation panels, adhesive or retaining clips, and easy installation instructions. Depending on the product, you may find foam boards, fiberglass batts, or reflective insulation. Each option works a little differently, but they all have the same goal improving DIY garage door insulation without replacing the entire door.
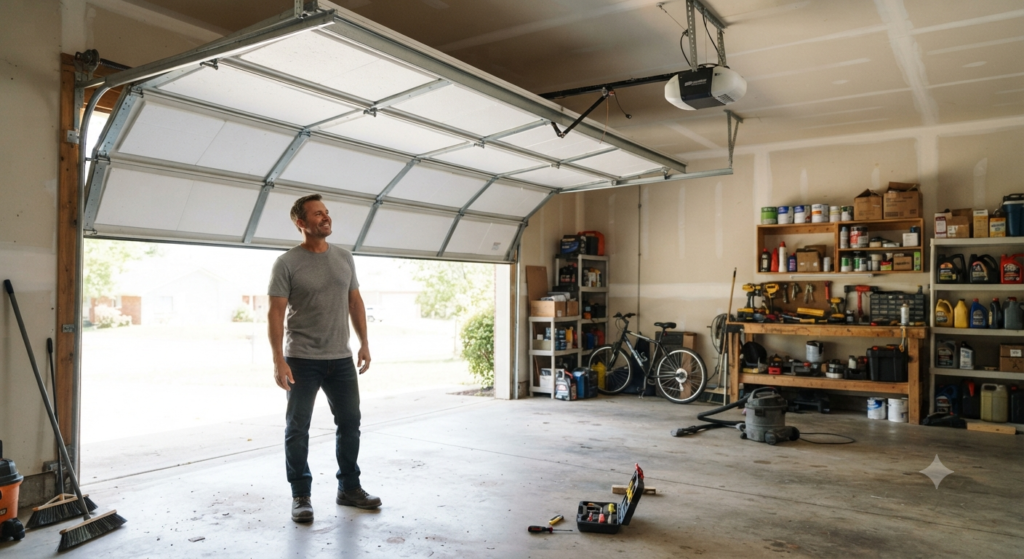
If you’re looking for an affordable DIY insulation for garage door projects, this can be a practical upgrade. While it won’t perform exactly like a factory-insulated door, a well-installed garage door insulation DIY solution can help reduce drafts, cut outside noise, and make your garage feel noticeably more comfortable.
Is a DIY Garage Door Insulation Kit Worth It?
For most homeowners, yes it can be a worthwhile upgrade if your garage door isn’t already insulated. It won’t turn your garage into a fully climate-controlled room, but it can make a noticeable difference in comfort. If you use your garage as a workshop, home gym, or storage space, you’ll probably notice the change pretty quickly. The key is choosing the right material and installing it correctly.
Biggest Benefits
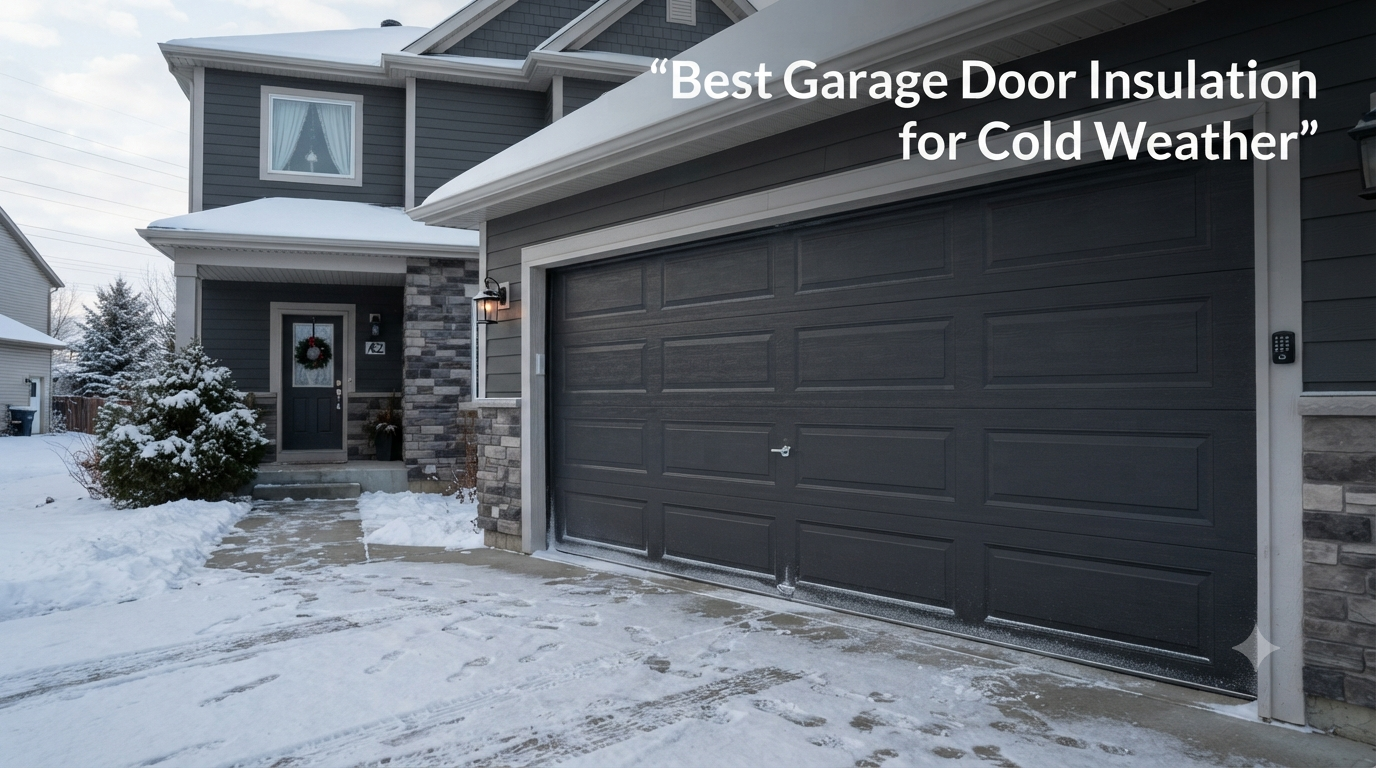
A good insulation kit helps keep your garage warmer in winter and cooler during hot summer months. That’s why many people choose DIY garage door insulation for winter before the cold weather arrives. Besides improving comfort, it can also reduce outside noise and help your heating or cooling system work a little less if your garage is attached to the house.
Some other benefits include:
- Keeps indoor temperatures more stable
- Helps reduce heat loss through the garage door
- Makes the garage quieter
- Adds a cleaner finished look to the inside of the door
- Costs much less than replacing the entire garage door
If you’re on a budget, cheap DIY garage door insulation can still give decent results, especially when paired with good weatherstripping around the door.
When It Isn’t Worth Installing
Insulation isn’t the right fix for every garage. If your door is badly rusted, damaged, or already factory insulated, spending money on a kit may not make much sense. In that case, replacing the door is often the better long-term choice.
It may also not be worth installing if:
- Your garage door needs major repairs
- The springs or opener already struggle with the door’s weight
- You’re planning to replace the garage door soon
- You expect insulation alone to stop all drafts or lower energy bills dramatically
Types of Garage Door Insulation Materials
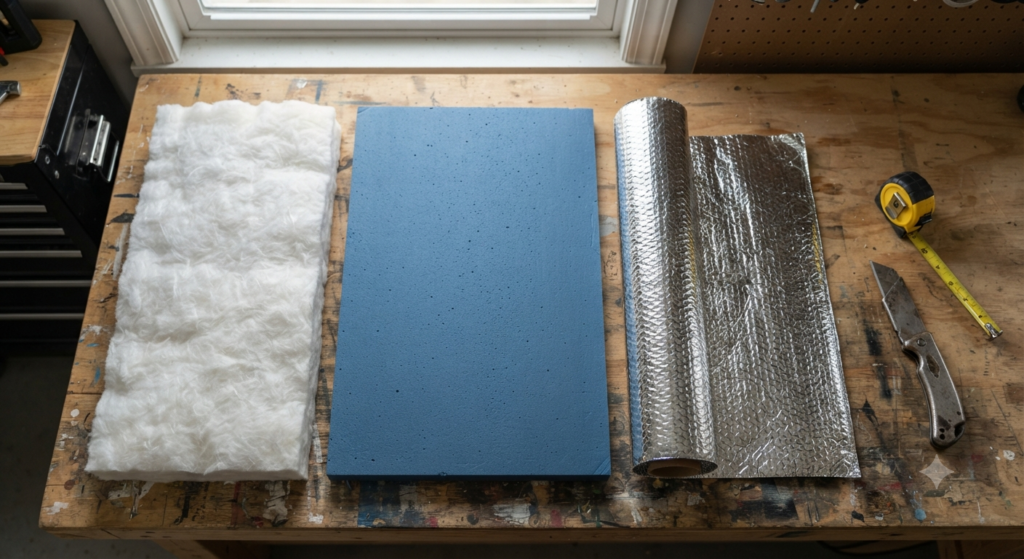
Not every insulation material performs the same. Some are better at keeping heat inside, while others are easier to install or cost less. Before buying a kit, it’s worth knowing what each option offers so you don’t end up with something that doesn’t suit your garage.
Fiberglass
Fiberglass insulation is one of the most common choices for garage doors. It usually comes as soft batts with a protective vinyl facing. It does a good job of reducing heat loss and can also help cut down outside noise.
Pros:
- Good thermal performance
- Helps reduce noise
- Easy to trim for most garage doors
Cons:
- Can irritate your skin during installation
- Needs to stay dry to work properly
Foam Board (EPS/XPS)
Rigid foam boards are lightweight, durable, and easy to cut with a utility knife. They fit neatly inside most garage door sections and are a popular choice for DIY projects. Many homeowners prefer insulation panels made from EPS or XPS because they provide solid insulation without adding much extra weight.
Pros:
- Lightweight
- Moisture resistant
- Clean, finished appearance
- Long-lasting
Cons:
- Needs accurate measuring and cutting
- Can crack if bent too much
Reflective Foil
Reflective insulation uses a foil surface to reflect radiant heat instead of trapping it. It works best in hot climates where the goal is to keep heat out rather than hold warmth inside. On its own, though, it doesn’t insulate as well as fiberglass or foam.
Pros:
- Lightweight
- Easy to install
- Helps reduce heat from direct sunlight
Cons:
- Lower insulation value in cold weather
- Less effective without an air gap
Which One Is Best?
For most homes, DIY garage door insulation with fiberglass or foam gives the best results. If you want better thermal performance and noise reduction, fiberglass is a strong option. If you prefer something lighter, cleaner, and easier to maintain, rigid foam boards are usually the better pick. Reflective foil works best in warm climates but isn’t the first choice if winter insulation is your main goal.
How to Choose the Right Garage Door Insulation Kit
Picking the right kit isn’t only about price. Your garage door’s material, panel size, insulation value, and weight all matter. A little planning now can save you from buying a kit that doesn’t fit or doesn’t perform the way you expected.
Check Your Door Material
Start by looking at what your garage door is made of. Most insulation kits are designed for steel doors, but some can also work with wood doors if there’s enough space inside the panels.
- If you plan to DIY insulate steel garage door, foam boards and fiberglass are both good choices.
- If you’re trying to DIY insulate wood garage door, check the panel depth first. Some older wooden doors don’t have enough room for thick insulation.
Choosing a kit that matches your door makes installation much easier.
Measure Panel Size
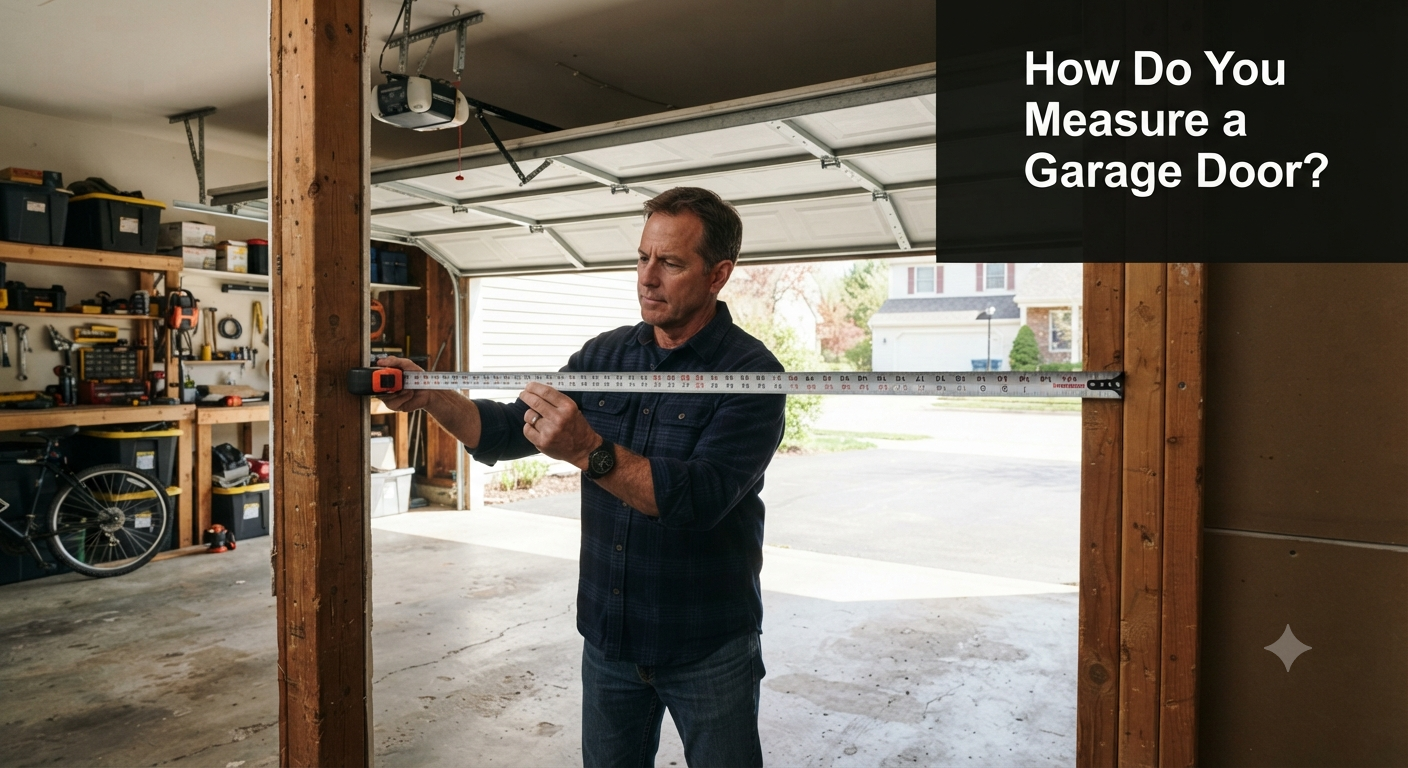
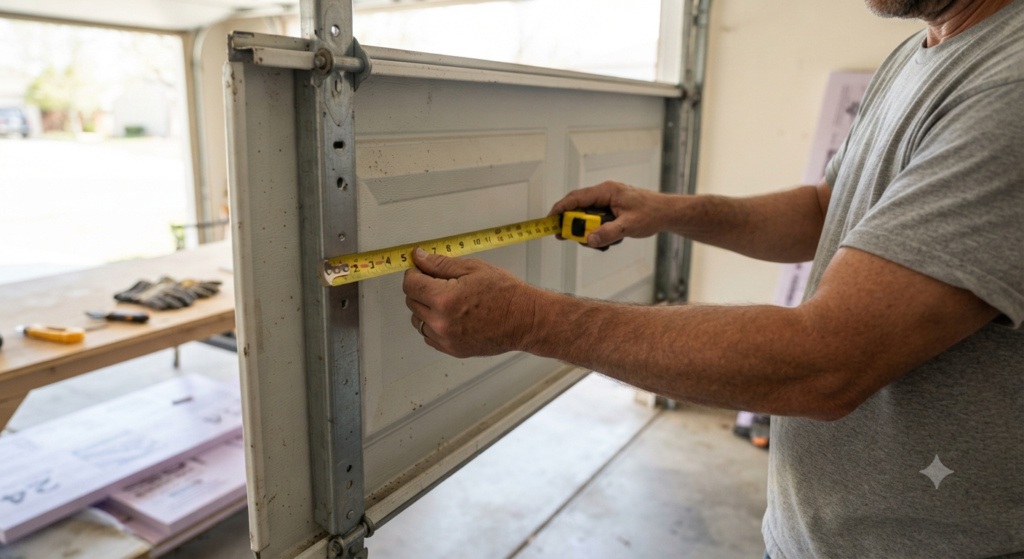
Don’t assume every garage door panel is the same size. Grab a tape measure and check the height, width, and depth of each section before buying.
Most DIY garage door insulation panels can be trimmed to fit, but accurate measurements help reduce waste and make the finished job look much cleaner.
Choose the Right R-Value
The R-value tells you how well the insulation slows heat transfer. In general, a higher R-value provides better insulation, but you don’t always need the highest number available.
For most attached garages, an R-value between R-8 and R-12 offers a good balance of comfort, performance, and cost.
Consider Weight Before Buying
Every insulation kit adds some extra weight to the garage door. Fiberglass usually weighs more than rigid foam, and that can affect how the door opens and closes.
After installation, disconnect the opener and lift the door by hand. If it feels unusually heavy or won’t stay balanced halfway open, it’s a good idea to have the springs checked before using the opener regularly. A properly balanced door is safer and puts less strain on the entire system.
Tools You’ll Need Before Starting

Before you begin, gather everything in one place. It makes the job much easier and helps you avoid stopping halfway through.
| Tool | Purpose |
| Tape measure | Measure each panel accurately |
| Utility knife | Cut insulation to size |
| Straight edge | Make clean, straight cuts |
| Marker | Mark cutting lines |
| Safety gloves | Protect your hands |
| Safety glasses | Keep dust and fibers out of your eyes |
| Clean cloth | Wipe the door before installation |
| Step ladder | Reach the upper panels safely |
How to Install Garage Door Insulation (Step by Step)
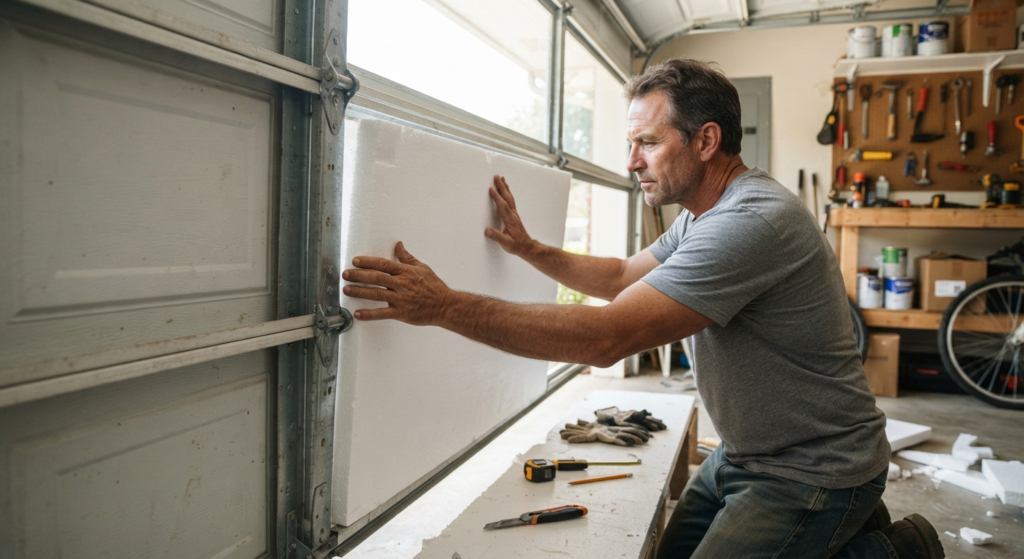
Installing a DIY garage door insulation kit is a beginner-friendly project. If you measure carefully and take your time, most homeowners can finish the job in about one to two hours.
Prepare the Door
Close the garage door completely and clean the inside surface with a damp cloth. Dust, grease, or dirt can keep adhesive clips from sticking properly. Let the door dry before moving to the next step.
Measure Each Panel
Measure the width and height of every panel cavity. Don’t assume they’re all identical. Write each measurement down before cutting the insulation.
Cut the Insulation
Place the insulation on a flat surface and mark your measurements. Use a straight edge and a sharp utility knife to make clean cuts. Aim for a snug fit so the panels stay in place without forcing them.
Install the Panels
Slide or press each insulation panel into its section. If your kit includes retaining clips or adhesive fasteners, install them according to the manufacturer’s instructions. The panels should sit flat without bending or bulging.
Secure Everything
Check that every panel is firmly attached. Replace any loose clips and trim small areas if needed. While you’re at it, make sure the hinges and tracks can move freely without rubbing against the insulation.
Test Door Balance
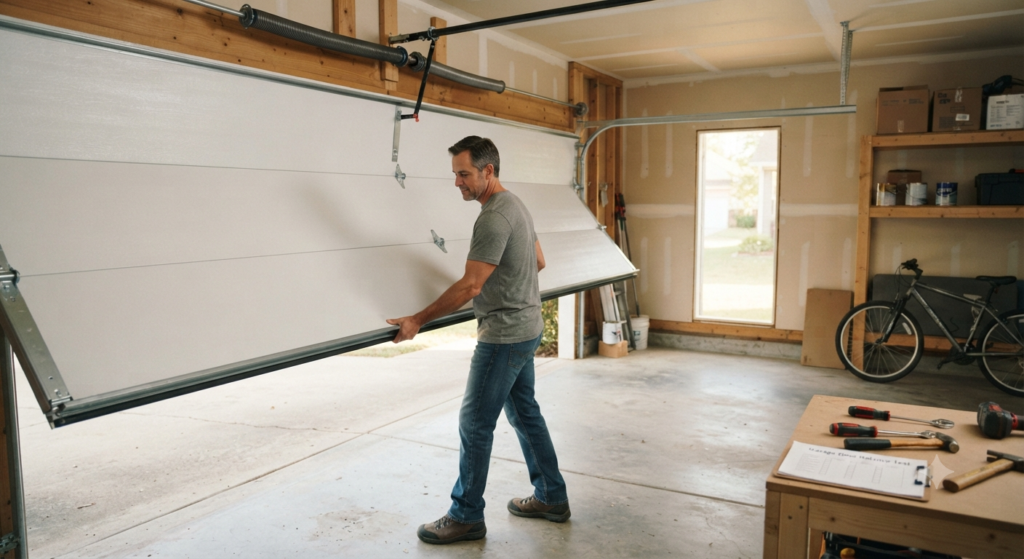
Once everything is installed, disconnect the automatic opener and lift the door by hand. It should move smoothly and stay around halfway open without drifting up or down. If the door suddenly feels much heavier or won’t stay balanced, stop using the opener until the springs are checked. Even a well-installed insulation kit can change the door’s overall weight.
DIY Garage Door Insulation Kit vs Factory-Insulated Garage Door
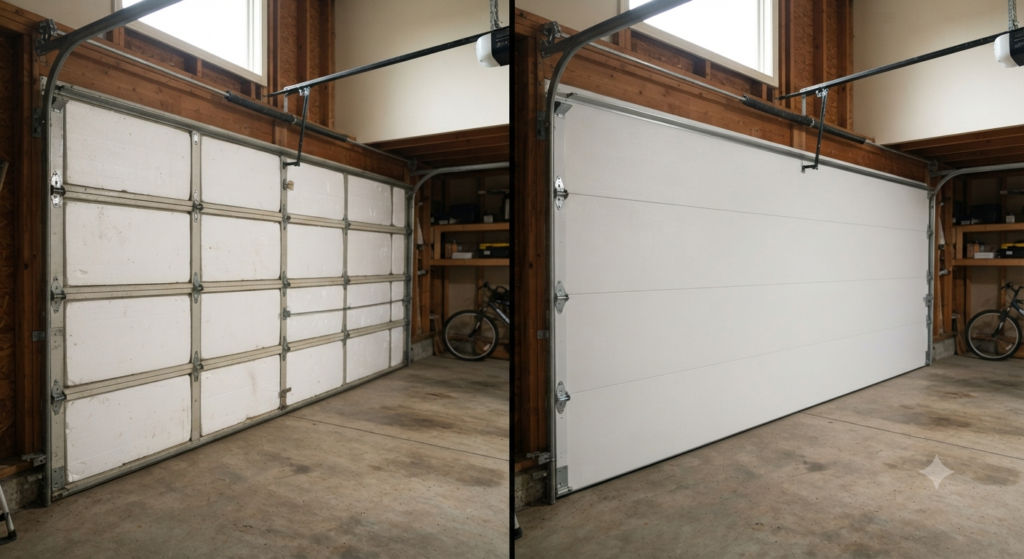
If your current garage door is still in good shape, adding insulation is usually the cheaper option. But if the door is old, damaged, or you’re planning a full upgrade anyway, a factory-insulated model may be the better long-term investment. When comparing pre-insulated garage doors vs DIY insulation, your budget and the condition of the existing door matter just as much as the insulation itself.
| Feature | DIY Insulation Kit | Factory-Insulated Garage Door |
| Upfront Cost | Low | High |
| Installation | DIY-friendly | Usually professional |
| Insulation Performance | Good | Better |
| Noise Reduction | Moderate | Excellent |
| Door Weight | Adds extra weight | Designed for balanced weight |
| Best For | Existing uninsulated doors | New installations or replacements |
Best Garage Door Insulation Kits Compared
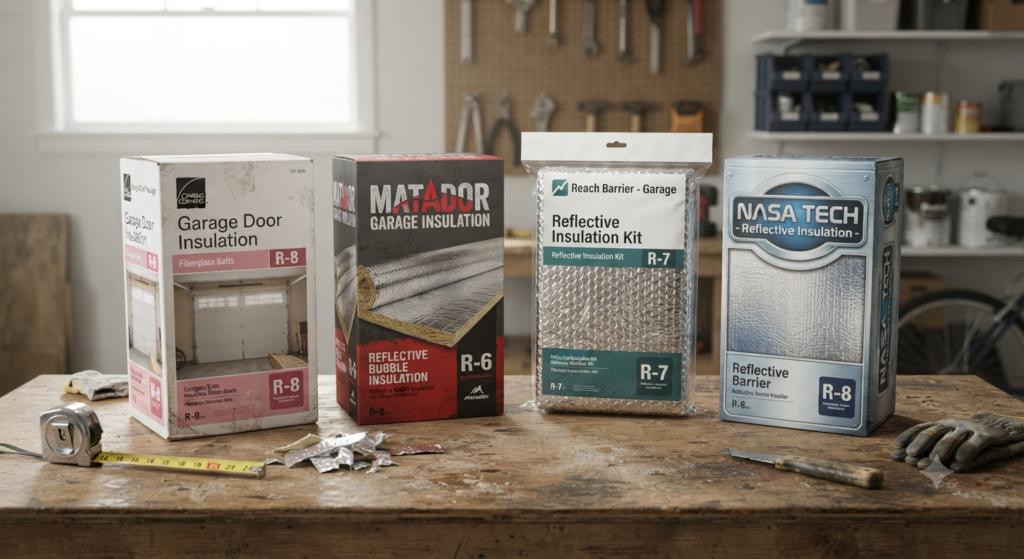
| Brand | Material | Best For | Notes |
| Owens Corning | Fiberglass | Cold climates | Great insulation and noise reduction. |
| Matador | Foam Panels | Most homeowners | Lightweight, clean look, and easy to install. |
| Reach Barrier | Reflective Foil | Hot climates | Reflects radiant heat but lower insulation value in winter. |
| NASA TECH | Reflective Foil | Warm garages | Lightweight and simple to cut, best where heat reflection is the priority. |
If you’re looking for the Best Buy DIY garage door insulation, don’t choose based on price alone. Match the kit to your climate, garage door type, and how you use the space. A slightly better kit often performs much better over the long run, making it a smarter investment than the cheapest option.
Common DIY Garage Door Insulation Mistakes
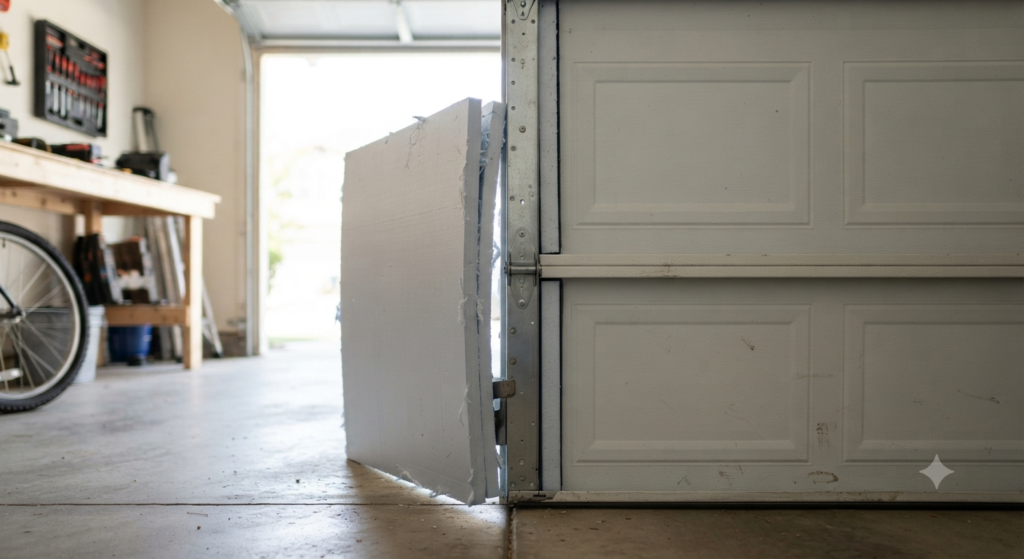
A few small mistakes can reduce the effectiveness of your insulation or even create problems with the garage door. Luckily, they’re easy to avoid if you know what to watch for.
- Choosing the wrong material: Not every insulation type suits every garage door. Pick one that matches your climate and door design.
- Incorrect measurements: Measure every panel separately. Even small size differences can leave gaps.
- Ignoring the springs: Added insulation means added weight. If the door feels heavy or doesn’t stay balanced, have the springs checked.
- Skipping weatherstripping: Insulation won’t stop drafts if air is leaking around the edges of the door.
- Blocking hinges or hardware: Keep insulation clear of moving parts so the door opens and closes smoothly.
- Using spray foam the wrong way: Spray foam expands as it cures. Using it inside garage door panels can cause warping or make the door harder to operate.
Simple Tips to Improve Garage Insulation Even More
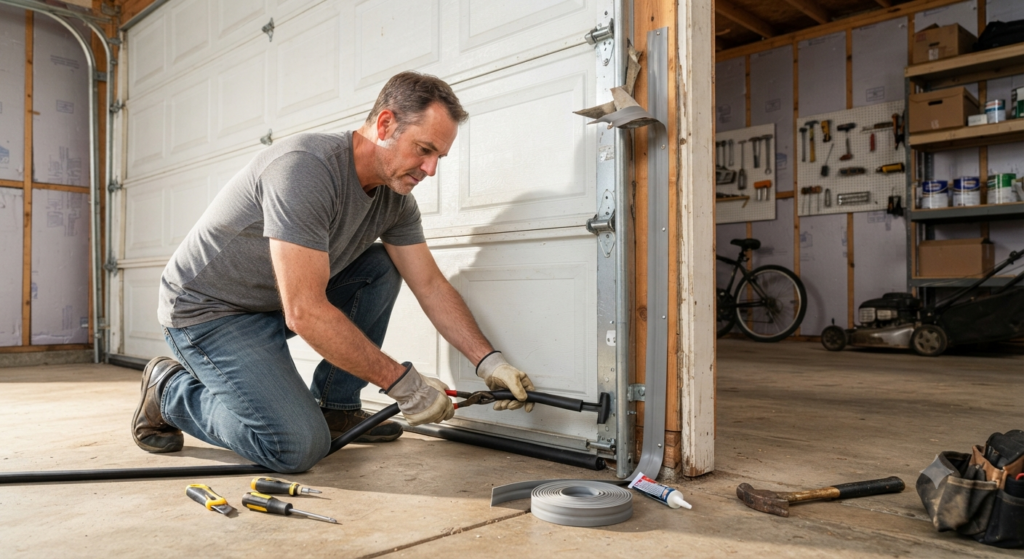
Insulating the door is a great start, but it’s only one part of the garage. A few extra upgrades can make an even bigger difference.
- Replace the bottom seal if it’s cracked or letting daylight through.
- Seal gaps around the top and sides of the door with quality weatherstripping.
- Insulate the garage walls if they’re unfinished or missing insulation.
- Add ceiling insulation to reduce heat loss through the roof.
- Seal or upgrade old windows if cold air gets in around the frames.
- Check the side entry door and replace worn weather seals if needed.
Conclusion
A DIY garage door insulation kit is a practical upgrade if you want a more comfortable garage without spending thousands on a new door. The right insulation material, accurate measurements, and careful installation can help reduce heat loss, cut outside noise, and improve the overall feel of the space. Just don’t forget to check the door balance once the job is finished, since even a little extra weight can affect how it operates.
If your garage door is still in good condition, adding insulation is usually money well spent. Take your time, choose a kit that fits your door and climate, and you’ll end up with a garage that’s noticeably warmer in winter, cooler in summer, and a lot more comfortable to use every day.