Here’s the short answer to how to program LiftMaster garage door opener devices: find the Learn button on the motor unit, press and release it once, then press the button on your remote (or type your PIN on the keypad) within about 30 seconds. That covers most remotes and keypads. The part people actually get stuck on is finding the right button on garage door opener, matching the right remote, and knowing what to check when the first try doesn’t take.
Before You Touch Anything: Find the Learn Button and Check What You’re Working With
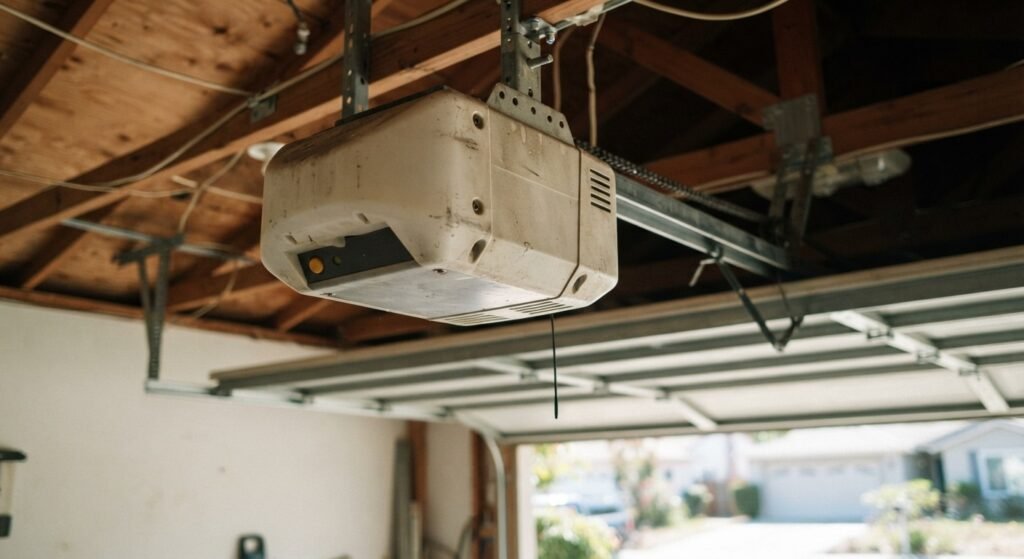
Every job below starts at the same spot, up on the ceiling where your opener’s motor unit lives.
Where the Learn Button Actually Is
Most LiftMaster openers keep the Learn button on the back or side of the motor housing, near the spot where the antenna wire hangs down. On some models it’s tucked behind the light lens, so you might have to pop that cover off with a flathead screwdriver first. It’s small, colored, and usually has a tiny LED sitting right next to it.
Grab a real ladder for this instead of a chair. It’s a two-minute job, but a fall from a ladder height isn’t.
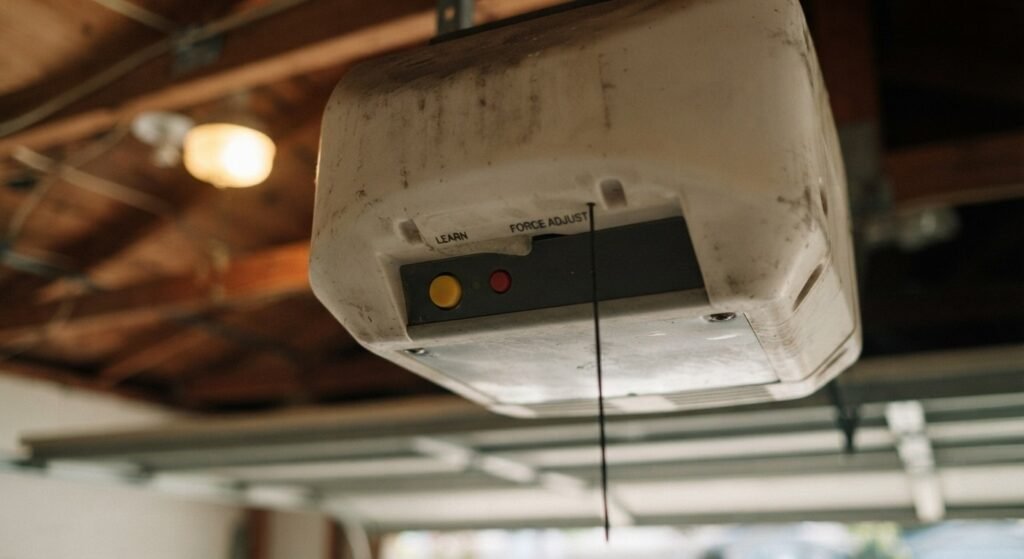
What That Button’s Color Is Telling You
The color isn’t random. It tells you which frequency and security system your opener runs on, and that matters if you’re buying a new remote.
| Learn Button Color | System Type | Rough Era |
| Yellow | Security+ 2.0 (310/315/390 MHz) | Mid-2000s onward |
| Purple | Security+ (315 MHz) | Early to mid-2000s |
| Red or Orange | Security+ (390 MHz) | Late 1990s to early 2000s |
| Green | Older rolling-code system | Older units, harder to find parts for |
Take these eras as rough guides. LiftMaster overlapped generations quite a bit, so match your remote to the actual button color you see rather than the age you’re guessing your opener is. Check the label on the unit or your manual if you’re not sure.
Confirm Your Model While You’re Up There
Look for the model sticker, usually on the side or back of the housing. Numbers like 8550W, 8500, 8355W, or 87504 come up a lot, though LiftMaster has made a long list of models over the years. Your model number matters later if you need parts or want to check myQ compatibility.
New Opener vs. Adding a Remote to One You Already Have
If you just had a brand-new opener installed, it usually comes with a remote or two already paired, and the included setup guide walks you through initial settings, sometimes including force and travel limits before you get to programming extra remotes.
If you’ve got a working opener and just want another remote or a replacement, skip straight to the sections below, since your opener already has other devices in memory and you’re simply adding one more.
How to Program LiftMaster Garage Door Opener: Standard Remote Steps
This is for your typical one, two, or three-button remotes, including common replacements like the 891LM or 893LM.
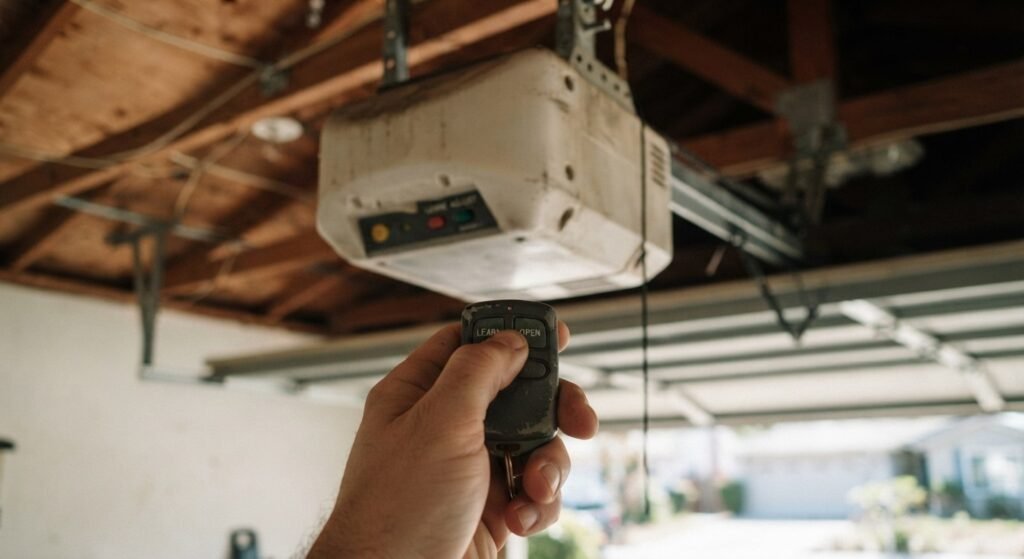
- Find the Learn button and remove the light cover if it’s in the way.
- Press and release it once. A long press does something different, more on that later. The LED should light up.
- Within 30 seconds, press and hold the button you want on your remote for about 2-3 seconds.
- Watch for confirmation, the opener’s light usually blinks, or you’ll hear a click or two.
- Let go once you see or hear it.
- Test it from a safe distance.
If the LED doesn’t light up at all when you press Learn, check the troubleshooting section below before you keep trying.
That 30-second window is real. If you’re still digging through a drawer for your remote when the light shuts off, press Learn again and start over.
Programming a MAX or Universal LiftMaster Remote
MAX remotes (890MAX, 893MAX, 895MAX) work a little differently since they’re built to match several opener types instead of just one.
Step 1: Set the Remote to Your Learn Button Color
- Press and hold the remote’s program button (some are recessed, so a pin or paperclip helps) until the LED lights up.
- Press and release the button you want to program.
- Press that same button again, quickly, a certain number of times based on your Learn button color: yellow is 1 press, purple is 2, red/orange is 3, green is 4.
- Let the LED stop blinking, then tap any other button to exit.
Step 2: Sync It to the Opener
- Press and release the Learn button on the opener.
- Within 30 seconds, press and hold your now-set remote button.
- Release once the light blinks or you hear the click.
- Test the door.
You’re programming the remote itself before the opener even knows it exists, which feels backwards the first time. The remote has to match the right frequency before the opener can recognize it.
Programming a LiftMaster Keypad
A keypad is useful if you want to give someone access without handing over an actual remote.
- If it was used on another opener before, clear it first, check the sticker inside the battery cover for the reset combo (varies a bit by model, like the 877LM or 878MAX).
- Enter programming mode using that same key sequence.
- Pick a 4-digit PIN.
- Press the Learn button on the opener.
- Within 30 seconds, type your PIN on the keypad and press Enter.
- Wait for the light to blink or the door to shift slightly.
Skip the obvious PINs, things like 1234, 0000, your house number, or your birth year. Pick something you’ll remember but nobody could guess in three tries.
Changing a Keypad PIN Later
- Enter your current PIN.
- Hold the # key until the opener’s light flashes twice, about 3 seconds.
- Enter your new PIN.
- Press Enter.
Worth doing right after moving into a new place, since you don’t know who else had the old code.
Programming a LiftMaster Wall Control
If you’ve got more than one wall panel for the same door, or you’re replacing a broken one, here’s the process.
- Press and release the Learn button on the motor unit.
- Within 30 seconds, press and hold the button on your wall console.
- Release once the light blinks.
- Test it.
If the panel also controls lighting or has a lock-out feature, check that the lock isn’t accidentally engaged before assuming the programming failed.
Programming LiftMaster to Your Car (HomeLink)
A lot of cars since the early 2000s have a built-in garage button, usually in the visor or near the rearview mirror, often labeled HomeLink.
Step 1: Train the Car
- Park outside the garage, engine running if your car needs it for power.
- Check your owner’s manual for where the HomeLink button is, it’s different for every make.
- Hold your existing LiftMaster remote 1-3 inches from the HomeLink button.
- Press and hold both at once.
- Watch the car’s light. When it goes from steady to rapid blinking, let go of both.
Step 2: Sync to the Opener
- Press the Learn button on the opener.
- Move fast, some models only give you 5 seconds here instead of the usual 30.
- Press and hold the trained HomeLink button.
- Release once the door moves or the light flashes.
You might need to press the HomeLink button two or three times before it fully takes on a Security+ 2.0 system.
If your car’s older than around 2002, first-generation HomeLink sometimes needs a bridge accessory to talk to modern rolling-code openers. A call to your dealer helps if it just won’t sync.
Setting Up myQ and Wi-Fi
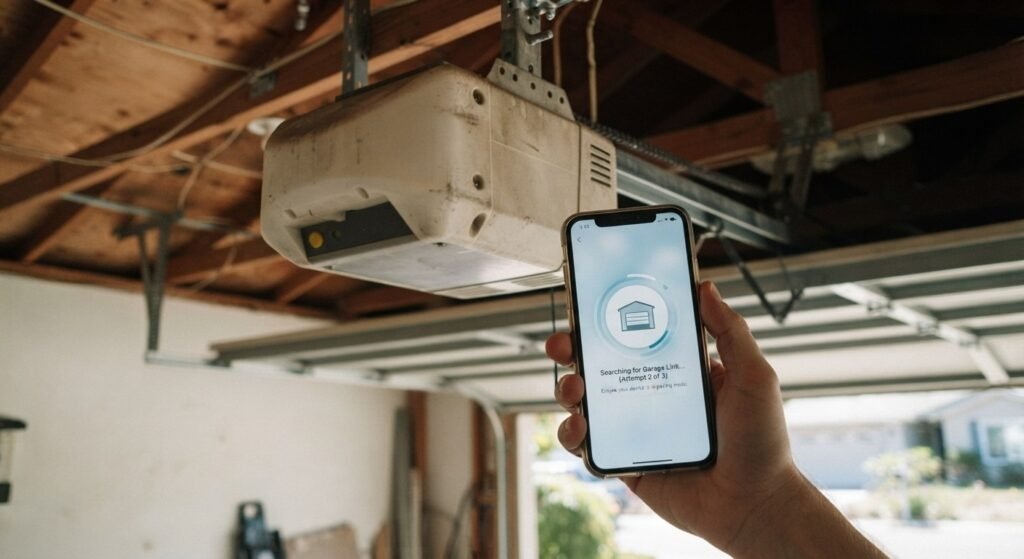
First thing to check: does your opener have Wi-Fi built in, or do you need a separate internet gateway (something like an 819LM or 829LM)? Older openers without either can’t connect to the app.
The part that trips people up most: myQ openers and gateways only connect to 2.4GHz Wi-Fi, not 5GHz. If your router broadcasts one combined network name covering both bands, the opener may never show up during setup. Check your router settings, or connect to the 2.4GHz band specifically if your router offers both separately.
Basic Setup
- Download the myQ app and set up an account.
- Tap to add a new device.
- Put the opener into pairing mode (the app walks you through this, usually a button press on the opener or gateway).
- Pick your 2.4GHz network and enter the password.
- Give it a minute or two to confirm the connection.
Adding a new remote or keypad through the Learn button doesn’t touch your myQ setup at all. The two systems run separately.
Can You Program a Remote Without the Learn Button?
Not on standard Security+ or Security+ 2.0 openers. The Learn button is what puts the receiver into pairing mode, and there’s no workaround for that on residential units.
The exception is older openers, pre-1993, that use DIP switches instead. You flip a row of tiny switches inside the remote’s battery compartment to match an identical row inside the opener. No Learn button, no timing window, just matching switch positions, and the exact layout varies by model, so check your manual if this is your setup.
Programming Multiple Garage Doors to One Remote
Got two openers, maybe a two-car garage or a detached building? Multi-button remotes like the 893LM or 893MAX can usually handle more than one door.
- Program each button separately using the standard steps, button 1 to door 1, button 2 to door 2.
- Label them if the remote doesn’t already, since it’s easy to forget which is which a month later.
- Pairing a very old green-button opener with a newer yellow-button one on the same remote can sometimes get finicky, so check both systems are reasonably compatible first.
Troubleshooting: Why It Won’t Program
Most failures trace back to one of these.
| Problem | Likely Cause | Try This |
| Remote won’t pair at all | Dead or weak battery | Swap in a fresh one first |
| Only works up close | Weak signal, antenna issue | Check the antenna hangs straight, not coiled up |
| No response, LED stays off | Wall control in lock mode | Check the lock button on your wall panel |
| Worked, then stopped days later | LED bulb interference | Try a different bulb type in the opener |
| Door reverses right after closing | Safety sensors out of alignment | Check sensor alignment first |
If the wall control opens the door fine but no remote will pair, the receiver or logic board inside the opener is the likely culprit.
Erasing All Codes (Full Reset)
Just moved in, or lost a remote and worried about who might still have access?
- Press and hold the Learn button for 6-10 seconds.
- Wait for the LED to go completely dark.
- Let go.
This clears every remote, keypad, and car button at once. You’ll need to reprogram your own devices afterward.
When to Call a Professional
A few situations call for actual help rather than more attempts at programming:
- The opener hums but the door won’t move (motor or gear trouble)
- The door reverses for no clear reason (could be a force or limit setting issue)
- Safety sensors won’t line up no matter what you try
- Other remotes started failing too, not just the new one
- The wall control isn’t working either, after several programming attempts
Springs and cables under tension aren’t a DIY fix. Those carry enough force to cause real injury if something slips.
Frequently Asked Questions
How do I erase old remotes if I just bought the house?
Hold the Learn button for 6-10 seconds until the LED goes dark. This clears everything, so anything the previous owners had stops working. Reprogram just your own devices after.
Can one remote run two different garage doors?
Yes, remotes like the 893LM can usually handle up to three separate openers. Program each button to a different door, one at a time.
Why does my remote only work when I’m standing right next to the door?
Usually a weak battery, a bent or coiled antenna, or an LED bulb causing interference. Start with a fresh battery.
How long does this actually take?
Once you’ve found the Learn button, a single remote or keypad takes about 2-5 minutes. Most of that time goes to climbing the ladder and locating the button the first time around.
Will adding a new remote mess with my myQ app?
No. The Learn button handles physical remotes, keypads, and car buttons. Your app and Wi-Fi connection stay exactly as they were.
Final Thoughts
The Learn button color on your opener decides which remotes, keypads, and accessories will actually pair, and that’s worth checking before you buy or program anything. For most homeowners, how to program LiftMaster garage door opener devices comes down to a fresh battery, the right 30-second timing, and a 2.4GHz network for myQ. When a door starts reversing on its own or the receiver stops responding to every remote at once, that’s past what programming can fix, and it’s worth getting a technician to look at the actual hardware.