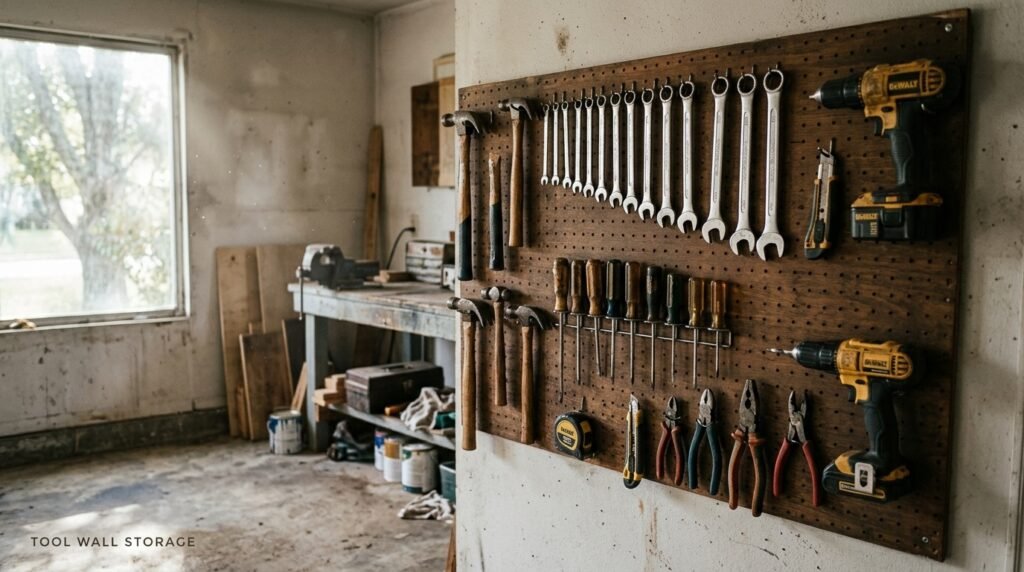
Tool wall storage just means hanging your tools on the garage wall instead of dumping them on the floor or piling them on a bench. You do it with pegboard, slatwall, a rail system, whatever fits. It’s honestly one of the cheapest fixes for a messy garage. But the system that works depends on your wall, your tools, and what you’re okay spending. Let’s walk through the real options, and the stuff most articles just skip.
Check Your Wall First. Seriously.
Before you buy anything, go look at what’s behind your garage wall. Sounds obvious, but almost nobody does it, and it’s the step that saves you the most trouble later.
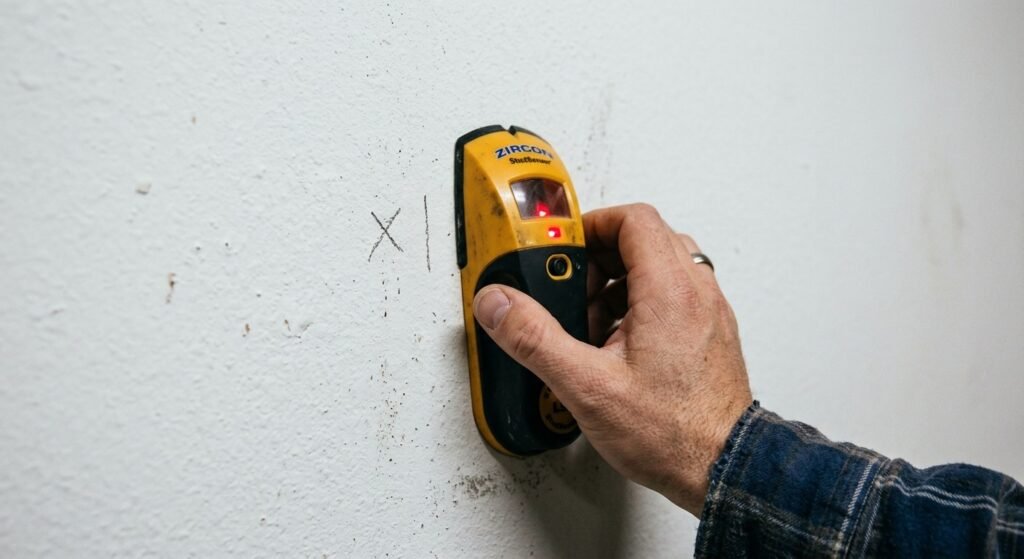
Drywall over studs? Most common setup in US homes. Gives you the most flexibility. Studs usually sit 16 inches apart, but honestly some older houses (and plenty of garages) don’t play by that rule, so grab a stud finder and check instead of trusting the “standard” number.
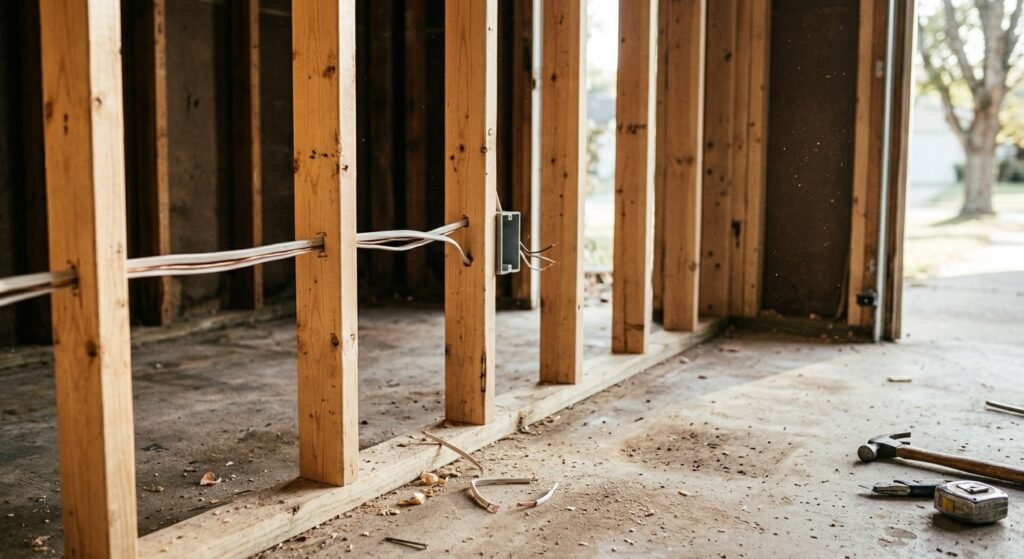
Bare studs, no drywall? You got it easy. Screw straight into the wood, no drywall anchors to mess with. Probably the simplest wall to work with, if you ask me.
Concrete or block wall? This one’s more work. No studs, so you’re using masonry anchors rated for whatever weight’s going up. Drilling into concrete just takes longer than driving a screw into a stud, plain and simple.
Insulated or finished garage wall? If someone’s already insulated and drywalled the garage, mounting works the same as any stud wall. Just don’t assume there’s wood behind every spot — use the stud finder anyway.
Garage Wall Storage Systems, Compared
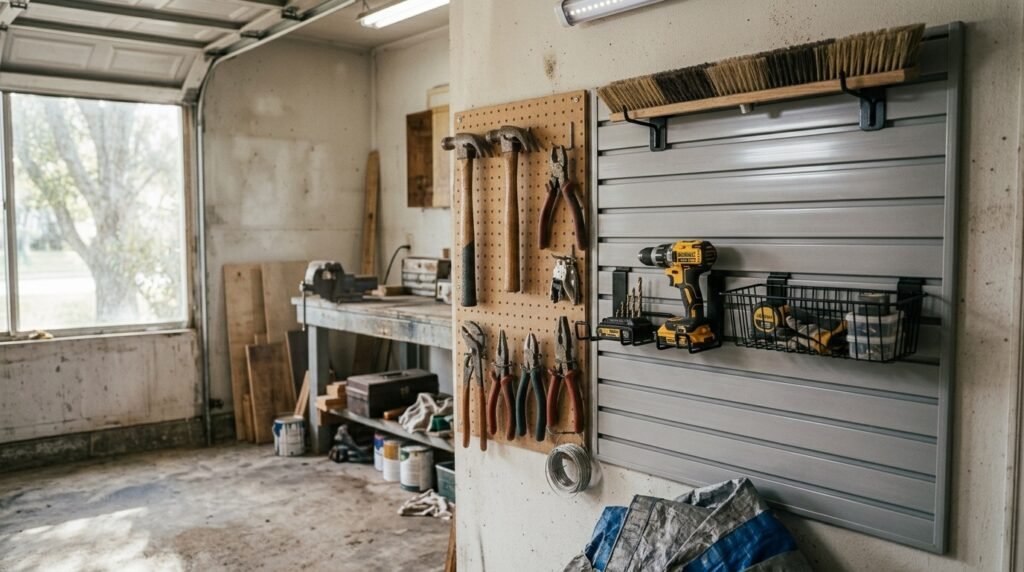
There’s no single “best” system here. There’s a best system for your garage. Most people who’ve actually gotten their garage organized end up mixing two or three of these, not sticking to just one.
| System | Cost | Weight It Handles | Good For |
| Pegboard (basic) | Low | Light stuff | Small hand tools, tight budget |
| Pegboard (metal) | Low-ish | Light to medium | Same, just holds up longer |
| Slatwall | Medium-High | Medium to heavy | Mixed tool sizes, cleaner finish |
| French cleat | Low if DIY | Heavy, done right | Custom builds, woodworkers |
| Rail / track system | Medium | Depends on the hook | Garages needing frequent rearranging |
| Cabinets | High | Heavy, enclosed | Power tools, chemicals, dust protection |
Quick honest take on each:
- Pegboard is where most people start, and that’s fine. But cheap fiberboard pegboard sags over time under heavier tools, especially without furring strips behind it. Metal pegboard fixes that, costs a bit more.
- Slatwall looks sharper and holds more since the brackets grip the whole groove instead of one hole. You pay for that.
- French cleat setups are the DIY crowd’s favorite for good reason. Build exactly what you need out of scrap plywood, and it holds a lot of weight when it’s anchored into studs. Takes longer to build than to just buy something off a shelf, though.
- Rail systems (some call them track wall systems) let you slide hooks and baskets wherever without drilling new holes each time. Works well if your garage does double duty, tools one week, bikes the next.
- Cabinets are the only real option here that keeps dust and moisture off your tools completely. Costs the most, eats up the most wall depth.
Planning Your Tool Wall Organizer So It Actually Works
Picking a system is only half the job. Layout matters just as much, maybe more.
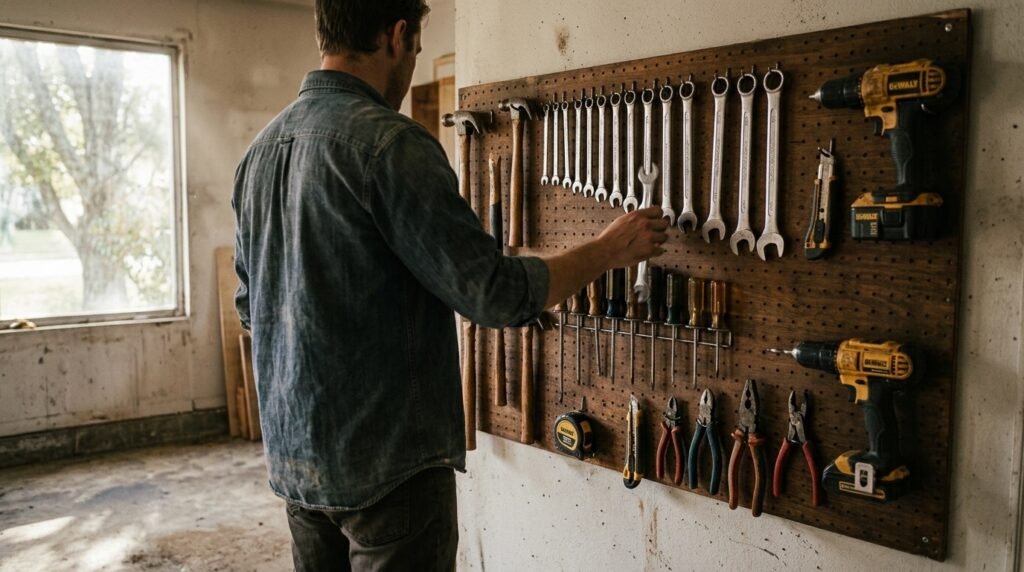
Keep your most-used tools at eye level
Anything you grab weekly should land around 48 to 60 inches off the floor. That’s roughly eye-to-chest height, so you’re not bending or stretching every time. Stuff you barely touch can go up higher.
Group by the job, not just the tool type
Sorting everything into neat little categories feels satisfying, but grouping by what you’re actually doing usually saves more time. Car tools near where you work on the car. Yard stuff near the garage door. That’s what’s worked better for me anyway.
Leave some blank space
Nearly everyone underestimates how many tools they’ll own two years from now. Leave extra panel or rail length so you’re not tearing the whole thing down later.
Don’t forget the garage door track
This gets missed constantly, and it’s actually a safety thing, not just a layout thing. If your tool wall sits near the garage door track, spring, or opener rail, leave real clearance. A hook mounted too close can catch the door or mess with the spring, and that’s not something you want to find out the hard way.
Mounting It the Right Way
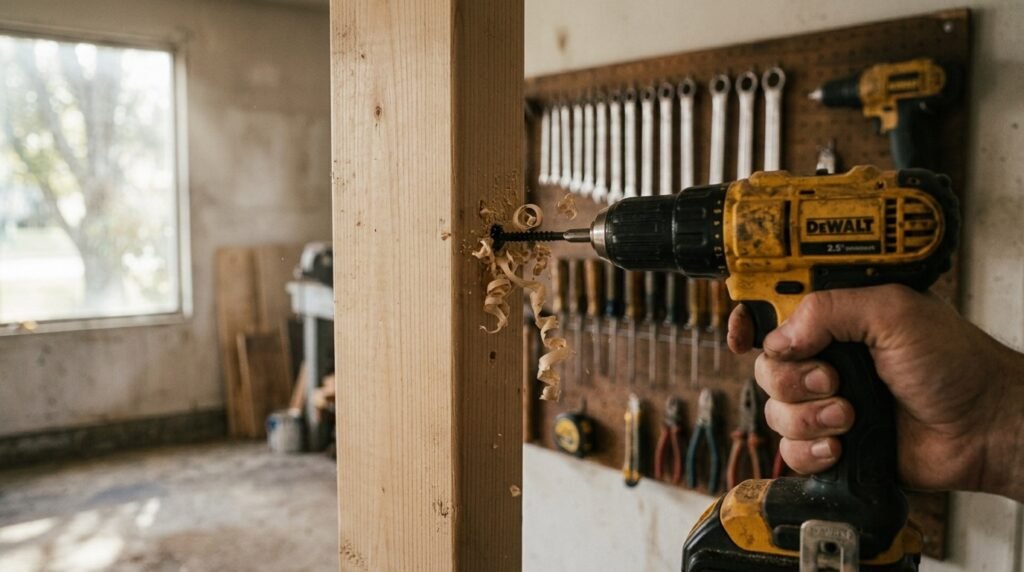
Most DIY tool walls fail because of a rushed install, not a bad system.
- Hit the studs. Drywall alone, even with anchors, usually isn’t rated for a fully loaded panel. Find your studs, then plan screw spacing around them.
- Use rated masonry anchors on concrete. Check the packaging for the actual weight rating instead of grabbing whatever’s closest.
- Spread the screws out. Don’t rely on one or two mounting points. Distribute the weight across the panel.
- Back your pegboard with furring strips if it’s not spaced off the wall already. Gives the hooks room to sit right and keeps the board from bowing.
- Check the accessory’s weight rating before loading it up. Every hook or bracket has a limit set by the manufacturer, and that number really does change brand to brand, so it’s worth confirming on the actual product listing.
Don’t Let Your Garage Eat Your Tools With Rust
This part of tool wall storage gets ignored a lot, and it shouldn’t be. Garages swing in temperature and humidity way more than the rest of the house, especially if it isn’t sealed up well. That’s rough on bare metal hooks and tools sitting out in the open.
A few things that help:
- Coated or powder-finished hooks last longer than bare steel ones.
- Wipe tools down and add a light coat of oil if they’re hanging exposed instead of tucked in a cabinet.
- If your garage runs damp, cabinets protect sensitive tools better than open pegboard ever will.
- A garage that’s insulated and sealed properly sees smaller daily temperature swings, which means less condensation, and less condensation means less rust showing up on your open tool wall.
Common Mistakes People Make
- Loading up one section of wall instead of spreading the weight across studs or track sections.
- Skipping the stud finder and just guessing. Probably the number one reason tool walls fail.
- Buying the system before measuring the wall. Outlets, windows, the garage door track, a breaker panel, any of these can wreck a layout you already planned in your head.
- Bolting a second system on as an afterthought instead of planning it together with the first one.
- Building at full capacity on day one, leaving nowhere to go when you buy your next tool.
Quick Questions People Ask
Is slatwall really better than pegboard?
Not “better” exactly. Slatwall holds more and looks cleaner, but costs more. Pegboard’s cheaper and works fine for lighter hand tools. Depends what you’re hanging.
How much weight can pegboard hold?
Depends on the type and how it’s backed. This varies enough between products that it’s worth checking the specific pegboard’s rated capacity before hanging anything heavy on it.
What’s the cheapest way to build a DIY tool wall?
Basic pegboard or a homemade French cleat setup from scrap plywood. Both are low-cost, especially if you’ve already got some materials lying around the garage.
Can I put tool storage on an insulated garage wall?
Yep. Same process as any stud wall, find your studs, mount there for anything heavy. Insulation doesn’t change the install, it just means don’t assume you can screw in anywhere without checking first.
How high should tools be mounted?
Frequently used stuff around 48 to 60 inches up. Less-used items higher, heavy stuff lower down.
Final Thoughts
At the end of the day, tool wall storage isn’t really about finding the “perfect” system. Pegboard, slatwall, French cleat, rail systems, cabinets, they all work fine when they’re matched to your wall and mounted properly. Figure out what wall you’ve got, plan the layout around how you actually use your tools, and anchor it right. Do those three things and pretty much any option here will hold up for years.